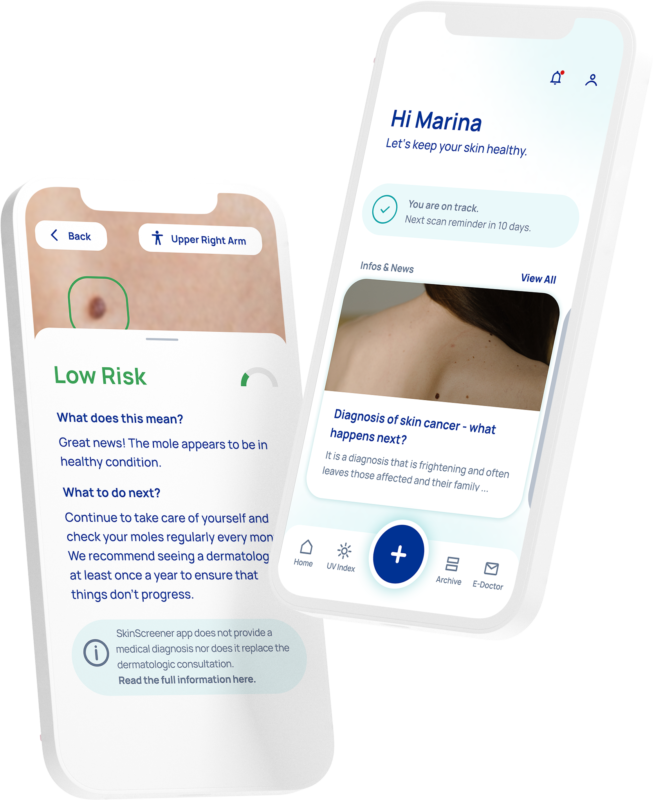
The earlier skin cancer can be detected, the better the chances of cure. Self-examination plays a key role in this. Skin cancer and its precursors can be seen and felt. Follow this step-by-step guide and examine your body from head to toe, once a month. If you notice a noticeable mole, scan it with the SkinScreener app to get an accurate risk assessment of the skin change. Depending on the results, you should consult a dermatologist.
For an accurate self-examination, you will need a bright light, a full-length mirror, a hand mirror, two chairs or stools and a hairdryer.
Step 1: Examine your face
Pay special attention to your nose, lips, mouth and ears – front and back. Use one or both mirrors to get a clear view.
Step 2: Examine your scalp
Examine your scalp thoroughly with a hairdryer and a mirror to visualise each area. Ask a friend or family member for help if you can.
Step 3: Examine your hands
Examine the palms and backs of your hands, between your fingers and under your fingernails. Continue up the wrists to examine both the front and back of your forearms.
Step 4: Examine your arms
Standing in front of the full-length mirror, begin at the elbows and scan all sides of your upper arms. Important: don’t forget the armpits.
Step 5: Examine your torso
Next, focus on the neck, chest and torso. Women should lift the breasts to examine hidden moles undersides.
Step 6: Examine your upper back
With your back turned to the full-length mirror, use the hand mirror to examine the back of your neck, shoulders, upper back and any part of the back of your upper arms. Important: examine any parts of your body that you were not able to view in step 4. If possible, ask a friend or family member to help you.
Step 7: Examine your lower back
Still using both mirrors, examine the lower back, buttocks and backs of both legs.
Step 8: Examine your legs
Sit down; prop your legs alternately on the other stool or chair. Examine the front and sides of both legs, thigh to shin, ankles, tops of feet, the spaces between the toes and the toenails. Important: also pay attention to the soles of your feet and heels.
If you follow these 8 steps regularly, once a month, you will notice new, changed or unusual moles and other skin changes better. Don’t hesitate to ask a friend or family member for help with the self-examination. o get an even clearer picture of noticeable skin changes, use SkinScreener and scan the affected areas of skin.
It is important that you see a dermatologist once a year for a professional examination. If you notice a mole or skin change that looks suspicious, contact your dermatologist immediately and don’t waste time.
Early detection of skin cancer plays a key role.